Summary:
Planning Your Custom Vacuum System Layout
Before you start cutting into walls or ordering equipment, you need a layout that makes sense for how you actually use your mudroom. Think about traffic patterns and where messes happen most.
If your family enters through the garage and drops everything right by the door, that’s where you want your vacuum access. If the mudroom connects to a laundry area where lint and pet hair accumulate, plan for coverage there too. The goal is convenience that doesn’t require extra steps or thinking when you’re juggling grocery bags and kids.
Most Long Island homes benefit from at least one Hide-A-Hose inlet in the mudroom, especially if the space is 150 square feet or larger. Smaller mudrooms might pair a traditional inlet with an automatic dustpan under cabinetry for quick sweeping.
Where to Position Vacuum Inlets in Mudroom Spaces
Inlet placement makes or breaks how often you’ll actually use your built-in vacuum. Put them in the wrong spot and you’ll find yourself reaching for a broom instead.
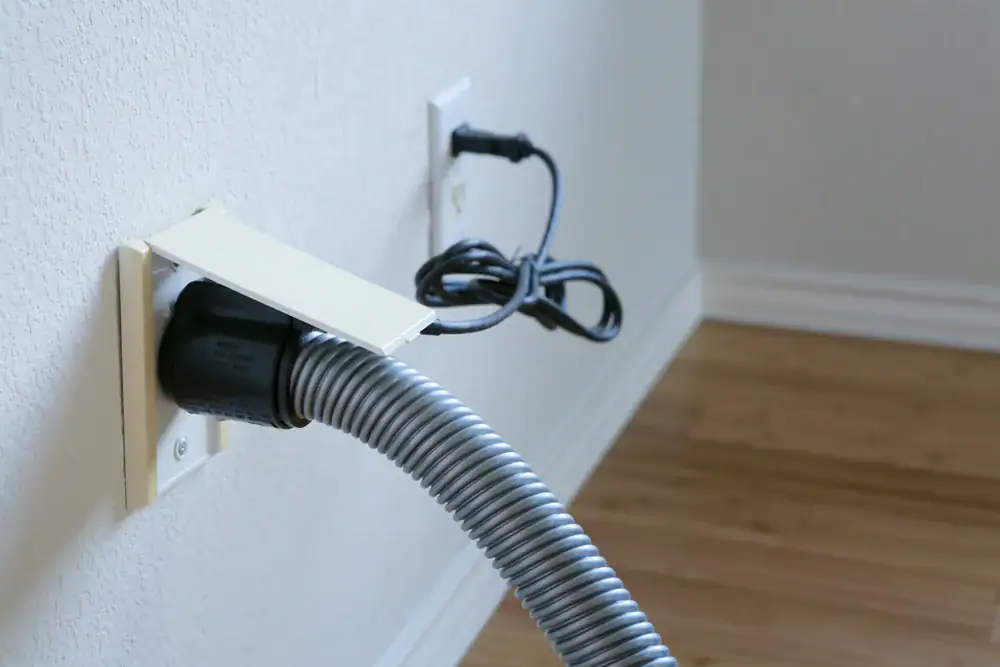
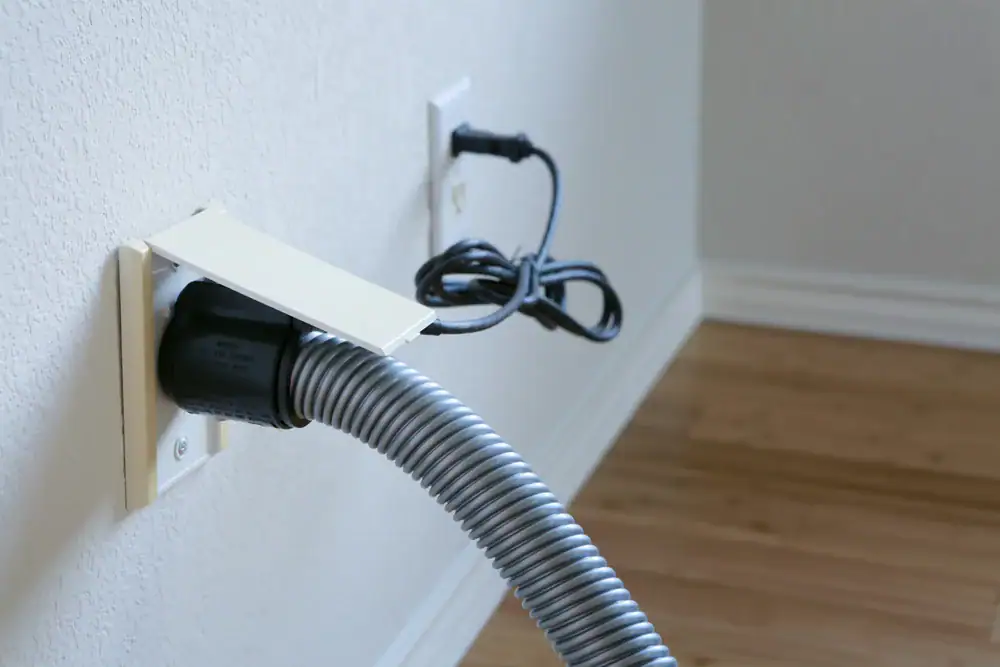
The most effective location is typically on the wall opposite your main entry door, about 6-12 inches above the baseboard. This positioning lets you vacuum the entire floor area without the hose crossing back over areas you’ve already cleaned. For mudrooms with bench seating or built-in storage, consider placing the inlet on the wall adjacent to these features rather than behind them where access gets blocked.
Corner placement works well in L-shaped mudrooms or spaces that connect to laundry rooms. You get coverage in both zones without needing multiple inlets. Just make sure there’s enough clearance to pull the hose out fully without furniture or storage units getting in the way.
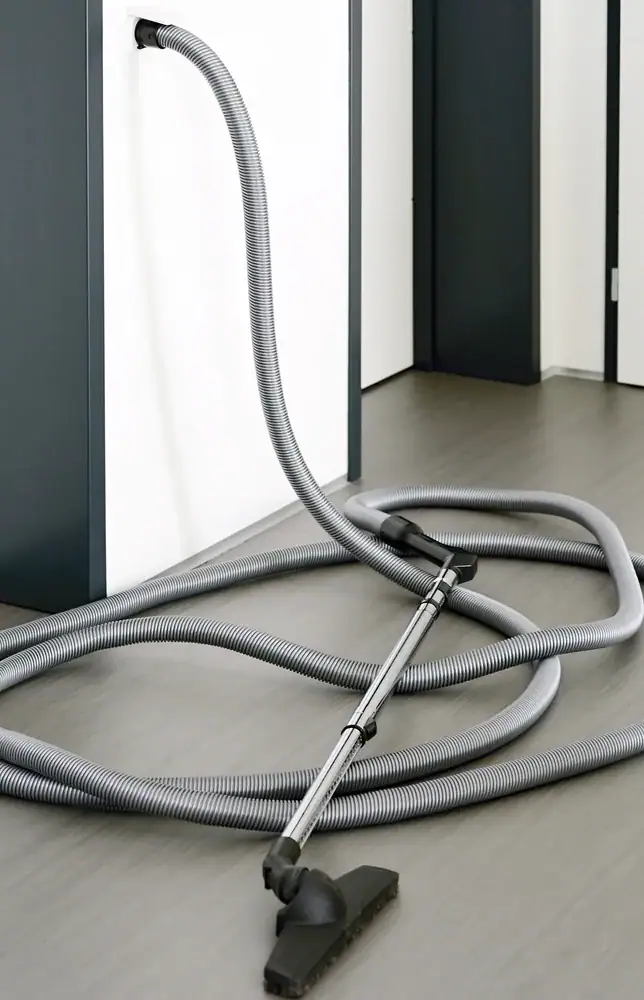
If you’re installing Hide-A-Hose, remember that each inlet can handle up to 50-60 feet of hose, covering roughly 2,300 square feet. That means one strategically placed inlet often covers your mudroom plus adjacent hallways or laundry areas. Traditional central vacuum systems typically need inlets every 600-800 square feet, so you might need two inlets to cover the same space.
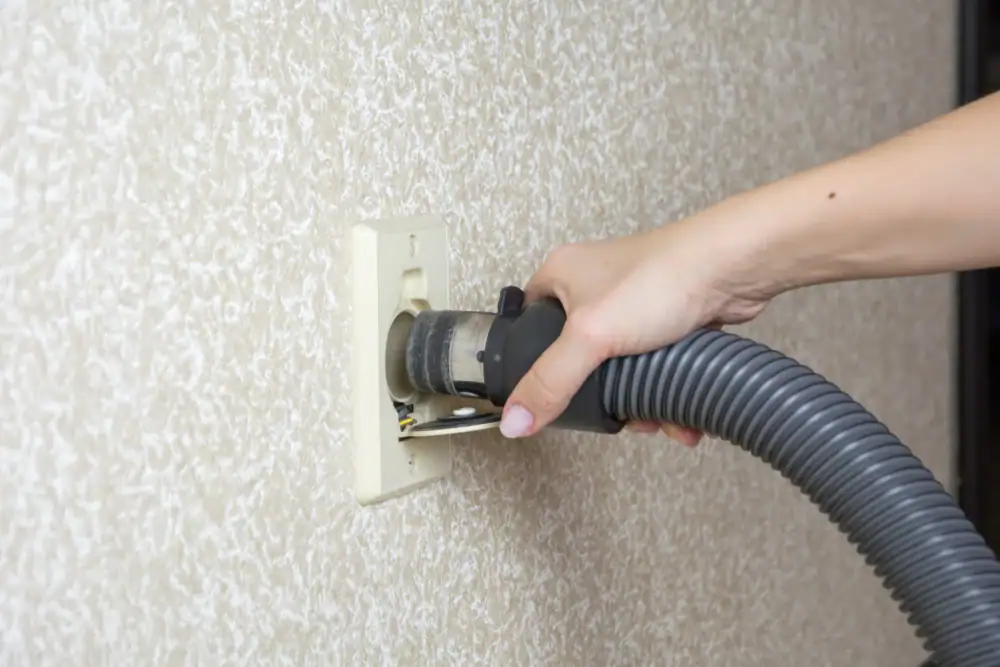
Height matters too. Standard inlets sit 12-18 inches off the floor, but some homeowners prefer them at 24-30 inches to avoid bending as much when plugging in the hose. If you have kids who’ll be helping with cleanup, lower placement makes it easier for them to reach.
Don’t forget about automatic dustpan placement if you’re adding one. These toe-kick inlets work best under lower cabinets in your mudroom or at the transition point between your mudroom and kitchen. You want them where you naturally sweep debris into a pile—usually near doorways or at the base of your bench seating where dirt accumulates.
Many Long Island homeowners central vacuum installation during renovations coordinate inlet placement with their contractor early in the design phase. This ensures the vacuum system integrates seamlessly with cabinetry, flooring transitions, and electrical work without requiring changes later.
How Hide-A-Hose Systems Work in Mudroom Design
Inlet placement makes or breaks how often you’ll actually use your built-in vacuum. Put them in the wrong spot and you’ll find yourself reaching for a broom instead.
The most effective location is typically on the wall opposite your main entry door, about 6-12 inches above the baseboard. This positioning lets you vacuum the entire floor area without the hose crossing back over areas you’ve already cleaned. For mudrooms with bench seating or built-in storage, consider placing the inlet on the wall adjacent to these features rather than behind them where access gets blocked.
Corner placement works well in L-shaped mudrooms or spaces that connect to laundry rooms. You get coverage in both zones without needing multiple inlets. Just make sure there’s enough clearance to pull the hose out fully without furniture or storage units getting in the way.
If you’re installing Hide-A-Hose, remember that each inlet can handle up to 50-60 feet of hose, covering roughly 2,300 square feet. That means one strategically placed inlet often covers your mudroom plus adjacent hallways or laundry areas. Traditional central vacuum systems typically need inlets every 600-800 square feet, so you might need two inlets to cover the same space.
Height matters too. Standard inlets sit 12-18 inches off the floor, but some homeowners prefer them at 24-30 inches to avoid bending as much when plugging in the hose. If you have kids who’ll be helping with cleanup, lower placement makes it easier for them to reach.
Don’t forget about automatic dustpan placement if you’re adding one. These toe-kick inlets work best under lower cabinets in your mudroom or at the transition point between your mudroom and kitchen. You want them where you naturally sweep debris into a pile—usually near doorways or at the base of your bench seating where dirt accumulates.
Many Long Island homeowners installing custom vacuum systems during renovations coordinate inlet placement with their contractor early in the design phase. This ensures the vacuum system integrates seamlessly with cabinetry, flooring transitions, and electrical work without requiring changes later.
Integrating Automatic Dustpans Into Utility Room Design
Automatic dustpans might be the most underrated feature you can add to a mudroom. They’re exactly what they sound like—a toe-kick inlet installed at floor level that you sweep debris directly into.
Instead of sweeping dirt into a pile and then bending down with a dustpan, you sweep it straight into the inlet opening. A quick tap with your foot activates the vacuum suction and everything disappears. It takes sweeping from a two-step process to a one-step process, which matters more than you’d think when you’re doing it multiple times a week.
These work exceptionally well in mudrooms because that’s where the sweepable mess lives. Sand from the beach. Dirt from the garden. Dog food scattered around bowls. All the stuff that’s easier to sweep than vacuum.
Best Locations for Automatic Dustpan Installation

The ideal spot for an automatic dustpan is under lower cabinetry or at the base of a wall where it’s easy to sweep toward but won’t get kicked accidentally during normal foot traffic.
In mudrooms with built-in bench seating and storage cubbies, the area directly under the bench works perfectly. That’s naturally where dirt accumulates when people sit down to remove shoes. You’re already sweeping there anyway, so having the dustpan inlet right at that spot makes cleanup instant.
If your mudroom connects to your kitchen, consider placing the automatic dustpan at the transition point between the two rooms. You can sweep from either direction and capture debris before it spreads into your main living areas. This placement is especially smart if you have tile or hardwood in the mudroom and different flooring in the kitchen—the threshold becomes your natural sweeping endpoint.
For mudrooms that also function as laundry rooms, an automatic dustpan near the washing machine catches lint, loose change, and the random debris that falls out of pockets. It’s also handy near pet feeding stations if your mudroom doubles as the dog’s dining area.
The installation requires cutting a rectangular opening in your baseboard or toe-kick area—typically about 6.75 inches wide by 1.75 inches high for most models. The inlet connects to your central vacuum PVC tubing just like a regular wall inlet. Most units have a foot-activated switch that flips up or presses down to turn the vacuum on and off.
Modern automatic dustpans like the VacPort come with LED lighting that illuminates the floor area when activated. This seems like a small detail until you’re trying to see if you got all the dirt in a dimly lit mudroom. The light makes a real difference, especially in Long Island homes where mudrooms often lack natural light.
One thing to plan for is the connection routing. The dustpan needs to connect to your main vacuum tubing, which usually runs through walls or under floors. If you’re installing during new construction or a renovation, routing is simple. For retrofit installations in finished homes, we’ll likely route the connection through the basement or crawl space if your mudroom is on the first floor.
Placement near exterior doors makes the most sense because that’s where the heaviest dirt traffic occurs. When family members come in from outside, they can quickly sweep debris into the automatic dustpan before it gets tracked through the rest of the house.
Choosing Durable Materials Around Built-In Vacuum Components
Your mudroom takes more abuse than almost any other room, so the materials around your vacuum system need to handle moisture, impacts, and constant use without showing wear. This is especially true for Long Island homes dealing with coastal humidity and seasonal weather extremes.
For the area surrounding your vacuum inlets, avoid materials that will scratch, dent, or water-damage easily. If you’re installing an inlet in drywall, make sure it’s properly sealed and painted with a durable finish that can be wiped down. Semi-gloss or satin paint finishes hold up better to cleaning than flat paint.
If your mudroom features tile or stone walls, coordinate inlet placement with your tile layout so the inlet doesn’t require cutting through finished tile. It’s much cleaner to place the inlet where it meets a corner, edge, or natural break in the tile pattern. If you must cut through tile, we can do it cleanly, but it adds complexity and cost.
For automatic dustpans installed under cabinetry, choose toe-kick materials that won’t splinter or crack with repeated foot contact. Most automatic dustpans are made from polycarbonate, which is virtually unbreakable. But the surrounding cabinet base and flooring need to be equally tough. Hardwood, tile, luxury vinyl plank, and sealed concrete all work well. Avoid carpet in areas where you’ll use an automatic dustpan—it defeats the purpose.
The flooring itself matters for how well your vacuum system performs. Tile and hardwood are ideal for mudrooms because they’re easy to sweep and vacuum. They don’t trap dirt the way carpet does. If you do have area rugs in your mudroom for comfort or style, make sure they’re low-pile and easy to shake out or vacuum over.
Cabinet materials around your vacuum components should be moisture-resistant. Long Island’s coastal humidity can be tough on certain materials. Laminate systems handle moisture better than MDF or painted wood in high-traffic, high-moisture areas. They’re simple to clean and take impacts without chipping or peeling.
Consider adding a protective panel or trim piece around your vacuum inlet if it’s in a high-traffic area where bags, sports equipment, or furniture might bump into it regularly. A simple piece of matching trim or a recessed installation can protect the inlet from accidental damage.
For homes with pets, especially dogs that shake off water after being outside, choose materials that dry quickly and resist water staining. Porcelain tile is particularly good for this. It handles wet paws, muddy boots, and frequent mopping without deteriorating.
Creating a Mudroom That Works With Your Custom Vacuum System
A well-designed mudroom with an integrated custom vacuum system handles daily mess without making you think about it. The vacuum access is right where you need it. The hose stores itself. The automatic dustpan catches debris before it spreads through your house.
The key is planning the layout around how your family actually uses the space, not just where components fit easiest. Think about traffic flow, where dirt accumulates, and what will make cleanup so simple that everyone actually does it. Whether you’re dealing with beach sand from summer trips or salt and slush from winter weather, your built-in vacuum should make cleanup faster and easier.
When you’re ready to add a custom vacuum system to your mudroom or utility room, we can help you design a solution that fits your Long Island home perfectly. We understand local home construction, coastal climate challenges, and how to integrate systems that work for decades.