Summary:
Why Your Central Vacuum Has Low Suction
Low suction happens when something disrupts airflow through your system. Think of it like a straw with a hole in it—air escapes before it reaches the motor, and nothing gets pulled up properly.
The issue could be at the power unit, somewhere in your clogged pipes, or right there in the hose you’re holding. The key is figuring out where the problem starts. That tells you whether you’re dealing with a five-minute fix or something that needs central vacuum repair from a professional.
Start by testing suction directly at your power unit. Put your hand over the intake pipe where it connects to the main canister. If suction feels strong there, your motor is fine and the blockage is downstream in your piping or hose. If suction feels weak at the unit itself, the problem involves your motor, filters, or canister seals.
How to Check If Your Canister or Bag Is Full
This is the most common reason for sudden suction loss, and it’s the easiest to fix. When your dirt canister or vacuum bag fills up, there’s nowhere for new debris to go. Airflow gets restricted, and suction drops fast.
Most Long Island, NY homeowners don’t check their central vacuum unit often because it’s tucked away in the garage or basement. Out of sight, out of mind. But if your bag is three-quarters full or your canister is packed, your system can’t pull air effectively.
Empty your canister completely or replace your bag. While you’re there, wipe down the inside of the canister with a damp cloth to remove any dust buildup. If your system uses a bag, make sure it’s seated correctly when you put the new one in. A bag that’s not properly installed can create air leaks around the canister seals that kill suction.
After you empty or replace, test the system again. If suction comes back strong, you just solved your problem. If it’s still weak, move on to the next check.
Here’s what most people miss: even if your bag or canister looks only half full, compacted debris at the bottom can block airflow just as effectively as a completely full container. When in doubt, empty it. You’ll be surprised how much more your system can hold when it’s actually clean.
What Clogged Filters Do to Central Vacuum Suction
This is the most common reason for sudden suction loss, and it’s the easiest to fix. When your dirt canister or vacuum bag fills up, there’s nowhere for new debris to go. Airflow gets restricted, and suction drops fast.
Most Long Island, NY homeowners don’t check their central vacuum unit often because it’s tucked away in the garage or basement. Out of sight, out of mind. But if your bag is three-quarters full or your canister is packed, your system can’t pull air effectively.
Empty your canister completely or replace your bag. While you’re there, wipe down the inside of the canister with a damp cloth to remove any dust buildup. If your system uses a bag, make sure it’s seated correctly when you put the new one in. A bag that’s not properly installed can create air leaks around the canister seals that kill suction.
After you empty or replace, test the system again. If suction comes back strong, you just solved your problem. If it’s still weak, move on to the next check.
Here’s what most people miss: even if your bag or canister looks only half full, compacted debris at the bottom can block airflow just as effectively as a completely full container. When in doubt, empty it. You’ll be surprised how much more your system can hold when it’s actually clean.
How to Find and Clear Clogs in Your Central Vacuum
Clogs in clogged pipes are the second most common cause of low suction, and they’re usually hiding in your hose or at sharp bends in your piping. Hair, pet fur, small toys, and debris accumulate over time until they create a complete blockage.
First, check your hose for a vacuum hose leak or blockage. Disconnect it from the wall inlet and stretch it out. Look through one end—can you see light coming through the other side? If not, you’ve got a clog. You can push a long, stiff object like a butter knife or a broom handle through the hose to dislodge whatever’s stuck.
If the hose is clear, the clog is in your piping system. Test each inlet valve by plugging in your hose and checking suction. If one inlet has strong suction and another doesn’t, the blockage is between those two points in your clogged pipes.
Clearing Clogs from Central Vacuum Pipes
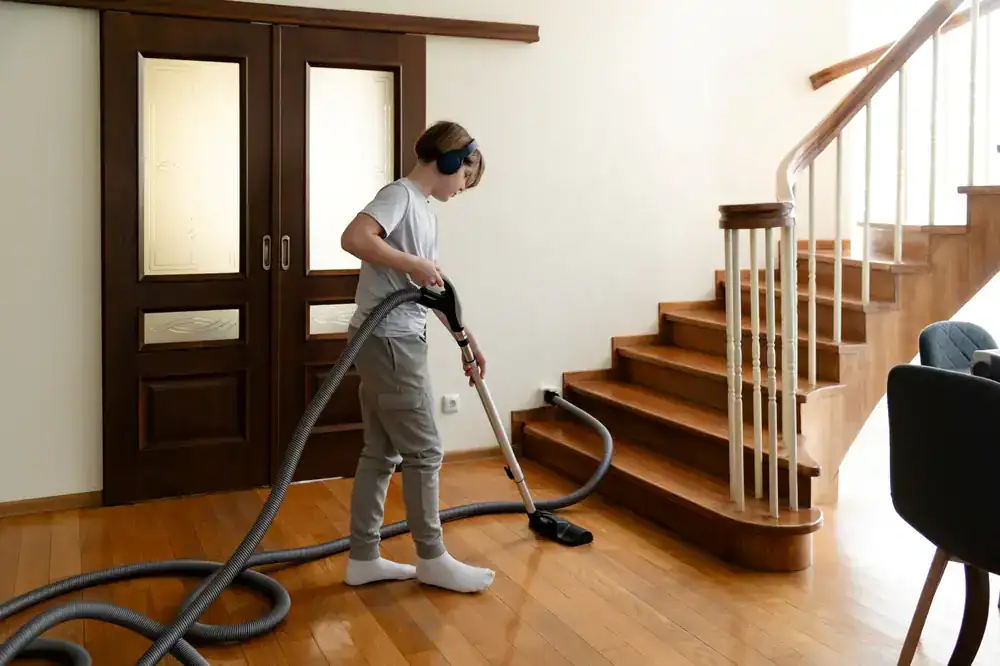
Clogs in your piping system are trickier than hose clogs because the pipes run through your walls. You can’t just pull them out and shake them. But there are effective methods for clearing blockages without tearing apart your house.
The shop vac method works well for accessible clogs. Turn off your central vacuum unit first—this is important for safety. Then take a shop vac and create suction at the problem inlet by holding the hose against the wall opening. The reverse suction can pull the clog back out toward you instead of pushing it deeper into the system.
If that doesn’t work, try the pressure method from the main unit. Some homeowners have success by temporarily reversing airflow at the power unit to blow the clog back through the pipes. This requires some technical knowledge, so if you’re not comfortable working with your power unit, call us for professional central vacuum repair.
For stubborn clogs in your pipes, maintenance cloths designed specifically for central vacuum systems can help. These special cloths get sucked through your piping and push debris along with them as they travel to the canister. They’re sold at most vacuum supply stores and online.
Sometimes clogs happen at sharp elbows or T-joints in your piping where debris naturally collects. If you know where your pipes run and can access those connection points in your basement or attic, you might be able to disconnect the joint and clear it manually. Just make sure to reconnect everything securely with PVC glue if needed.
Long Island, NY homes, especially older ones in Suffolk and Nassau counties, sometimes have piping that was installed with sharp angles that create natural debris traps. If you’re constantly dealing with clogs in the same spot, the piping layout might need adjustment. We can evaluate whether rerouting a section would solve recurring problems and improve overall suction loss prevention.
Vacuum Hose Leaks and How They Kill Suction
A crack or hole in your vacuum hose creates a vacuum hose leak that destroys suction power. Even a small leak lets air escape before it reaches the debris you’re trying to pick up. You’ll hear a hissing or whistling sound, and the vacuum won’t pull anything into the hose.
Inspect your hose carefully for visible damage. Check the entire length, paying special attention to areas that bend frequently or rub against furniture. Cracks often develop where the hose connects to the handle or at stress points where it’s been kinked repeatedly.
If you find a small crack, you can temporarily patch it with duct tape or electrical tape, but that’s a short-term fix. Hoses with significant damage should be replaced. A leaking hose will never give you full suction no matter what else you repair on your system.
Also check the connection points where your hose plugs into wall inlets. The gaskets and canister seals at these inlets can wear out over time, creating air leaks even when your hose is perfectly fine. If you feel air escaping around the inlet when the system is running, those canister seals and gaskets need replacement.
Testing for a vacuum hose leak is simple. Turn on your central vacuum and run your hand along the entire length of the hose while it’s connected. You’ll feel air escaping from any cracks or holes. Listen for that telltale hissing sound too—it’s often easier to hear a leak than to see it.
Hose replacement isn’t complicated, but make sure you get the right type for your system. Hoses come in different diameters and connection styles. If you’re not sure what you need, bring your old hose to a vacuum supply store or contact us to match it exactly.
One more consideration for Long Island, NY homeowners: if you store your hose in an unheated garage during winter, temperature extremes can make the material brittle and more prone to cracking. Store hoses in climate-controlled spaces when possible, or at least bring them inside during the coldest months to prevent damage.
When to Call a Professional for Central Vacuum Repair
You’ve checked the canister, cleaned the filters, cleared the clogged pipes, and inspected the hose for leaks. If suction is still weak, you’re likely dealing with motor maintenance issues, electrical problems, or damaged canister seals that require professional diagnosis and central vacuum repair.
Motor problems show up as weak suction even when everything else checks out. You might also notice unusual noises, burning smells, or the motor running but not pulling air effectively. Motors can last fifteen to twenty years with proper motor maintenance, but they do eventually wear out. We can test your motor and determine whether it needs repair or replacement.
Electrical issues with your low-voltage wiring can prevent your system from running at full power. These problems develop gradually, so you might not notice until performance drops significantly. Professional central vacuum repair includes testing all electrical components and inlet valve connections to ensure proper voltage throughout your system.
The good news is that most central vacuum repair work costs far less than replacing your entire system. Annual motor maintenance runs about one hundred to one hundred fifty dollars, while emergency repairs average around three hundred dollars. Compare that to the thousands you’d spend on a new installation, and professional service makes sense.
If you’re in Long Island, NY, working with us means you get technicians who understand the specific challenges your system faces—from beach sand infiltration in Nassau and Suffolk counties to humidity effects on motors and canister seals. We can often complete repairs the same day, getting your system back to full power without the wait.