Summary:
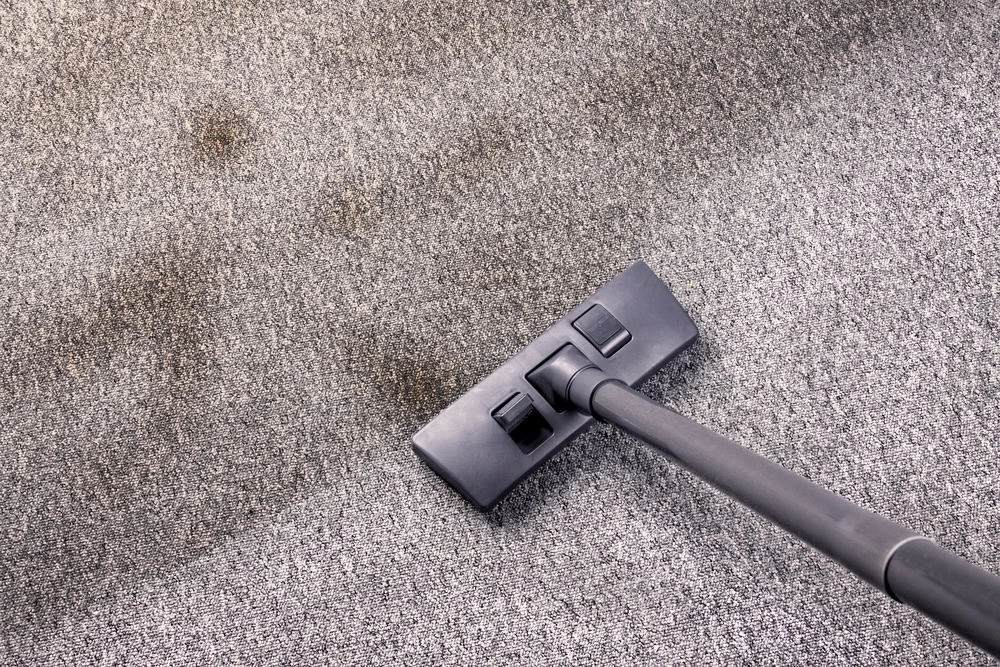
You’ve decided a whole house central vacuum makes sense. Maybe you’re exhausted from hauling that portable vacuum up the stairs every week. Maybe you’re watching dust blow right back into the air you just cleaned. Or maybe you’re dealing with Long Island’s pollen season and your current vacuum isn’t cutting it.
Whatever brought you here, you’re past the “should I” question and deep into “how does this actually work.” The installation process isn’t rocket science, but it does require precision. From where the power unit goes to how PVC routes through your walls, each decision affects how well your system performs for the next 20 years. This guide walks you through what actually happens during central vacuum installation—the planning, the process, and what Nassau County, NY homeowners need to know before work begins.
How Central Vacuum Installation Works: The Complete Process
Central vacuum installation connects three main components: a power unit mounted in your garage or basement, PVC tubing running through walls and between floor joists, and inlet valves strategically placed throughout your home. The power unit stays stationary and generates the suction. The tubing creates a sealed pathway for dirt and debris to travel. The inlets give you access points where you plug in your hose and start cleaning.
Installation follows a logical sequence. Planning comes first—figuring out where everything goes based on your home’s layout and how you actually use your space. Then the rough-in phase, where tubing and wiring get installed through walls and ceilings. Finally, finish work, where inlets get mounted and the power unit gets connected and tested.
Each phase matters because these systems operate under constant negative pressure. Air leaks from sloppy connections mean lost suction and reduced performance. That’s why technique separates systems that work flawlessly for decades from ones that underdeliver from day one.

Pre-Installation Planning: Assessing Your Home Layout
Before we cut into walls or drill holes, the system gets designed for your specific home. This isn’t one-size-fits-all. Your square footage, layout, number of floors, and structural features determine where components go and how many inlets you actually need.
A typical home needs one inlet for every 700-1,000 square feet when using a standard 30-foot hose. Go with a Hide-A-Hose retractable system, and that coverage jumps to around 2,300 square feet per inlet. The goal is complete whole house coverage without over-installing. Too many inlets costs more money and creates unnecessary potential leak points. Too few means you’re constantly stretching the hose to reach corners.
Inlet placement requires thinking through how you move through your home. You want them in central locations on interior walls—hallways, near doorways, spots where one inlet serves multiple rooms. You don’t want them behind doors, blocked by furniture, or in locations where the hose can’t physically reach every corner. We walk through with a 35-foot piece of string to test actual coverage before finalizing placement.
Power unit location comes next. The unit needs to go somewhere away from living areas—garage, basement, utility room. It should sit within three feet of an electrical outlet and needs at least eight inches of clearance from the ceiling for ventilation. We position it on or near an exterior wall if possible, so the exhaust routes outside easily. Outdoor exhaust maximizes the indoor air quality benefits that make central vacuums worth installing in the first place.
For Nassau County, NY’s common home styles, placement patterns emerge quickly. Colonial homes with basements work best with the power unit in the basement, trunk line running horizontally through the basement ceiling, and branch lines extending up through walls to each floor. Ranch homes frequently use garage installation with the trunk line running through the attic. Split-level homes require more creative routing but remain entirely manageable with proper planning.
The planning phase also maps the tubing route. The main trunk line should run as short and straight as possible for maximum suction efficiency. Branch lines connect the trunk to each inlet location. The entire network avoids sharp turns that restrict airflow—sweep elbows get used throughout except at the inlet valve itself, where a tight 90-degree elbow prevents long objects from entering the system and causing clogs.
Installing Central Vacuum in New Construction vs Existing Homes
The installation approach differs significantly depending on whether walls are open or finished. In new construction, central vacuum installation happens in two visits. The first occurs during “rough-in,” after framing is complete but before drywall goes up. PVC tubing runs through walls and between joists, inlet backing plates get mounted to studs, and low-voltage wiring gets installed alongside the tubing. Temporary plaster guards protect the inlet openings while drywall, mud, and paint get completed.
The second visit happens after walls are finished. Inlets get installed in their backing plates, the power unit gets mounted and connected, and the entire system gets tested before you take possession. This two-phase approach is straightforward because walls are open during the critical routing phase. There’s clear visibility of studs, existing plumbing, and electrical wiring.
Existing home installation requires more creativity but doesn’t mean demolishing walls. We use existing access points—attics, basements, crawl spaces, closets, and the space between floors. For first-floor inlets in Nassau County, NY homes, we typically drill up from the basement into open stud bays and cut inlet holes in walls. For second-floor inlets, we route tubing through the attic, down through closets or plumbing chases, and into wall cavities.
The key is finding pathways that avoid opening walls. In most Long Island homes, this is entirely possible. A single-story ranch with attic access is the easiest scenario. Multi-story colonials take more time and planning but rarely require cutting into drywall beyond the inlet openings themselves. The tubing runs behind finished surfaces, completely hidden from view.
Installation in existing homes typically completes in one day—usually 4 to 5 hours for straightforward layouts. More complex homes with multiple stories or challenging routing might extend to a full day. The process creates minimal mess and disruption. The only visible change is the inlet valves themselves, which look like oversized electrical outlets mounted at the same height as your existing outlets.
One concern homeowners raise constantly: will installation damage recently renovated spaces? We work carefully to route tubing through existing cavities without disturbing finished surfaces. If you’ve just renovated your kitchen or bathrooms, we coordinate to ensure the system integrates cleanly without affecting your new work. The only hole needed for each inlet is the one concealed by the inlet valve cover plate itself—no patching, no repainting beyond that single opening.
Central Vac Installation Step-by-Step: What Happens During Setup
Once planning is complete, installation follows a systematic process. The power unit gets mounted first, screwed to the wall with the bottom of the mounting bracket about 48 inches from the floor. This height allows convenient access to the dirt canister when it’s time to empty it every few months. The unit must be level and securely fastened to studs or concrete—it’s running for the next 20+ years.
Next comes the main trunk line. This primary PVC pipe runs from the power unit to the farthest inlet location. In a basement installation, the trunk line typically runs horizontally along ceiling joists. In an attic installation, it runs horizontally through the attic space. Branch lines then connect the trunk to individual inlet locations throughout the home, creating a network that covers every room.
The tubing itself is 2-inch PVC, but it’s not standard plumbing pipe. Central vacuum tubing has a completely smooth interior to prevent dirt particles from catching and building clogs over time. Connections get made with PVC solvent cement that chemically welds fittings to tubing, creating airtight seals that won’t leak under constant suction. Proper technique matters here—cuts must be square, burrs must be removed completely, and cement must be applied evenly with a quarter-turn during insertion to distribute it properly.
Running Tubing and Making Connections That Last
Tubing routes through the least visible, most accessible paths in your home. In basements, it runs along ceiling joists between floor supports. In attics, it runs between trusses or rafters. Vertical drops to inlets run inside wall cavities, typically through interior walls where there’s less insulation and fewer obstacles than exterior walls that are packed with insulation and vapor barriers.
The routing design minimizes pipe length while maintaining proper airflow. Long, straight runs perform better than systems with excessive fittings and turns that create resistance. Sweep elbows—which have gradual curves instead of sharp angles—get used throughout the system to maintain airflow efficiency and prevent clogs. The only exception is at the inlet valve itself, where a tight 90-degree elbow prevents long objects like socks, small toys, or other household items from entering the piping system where they could cause blockages.
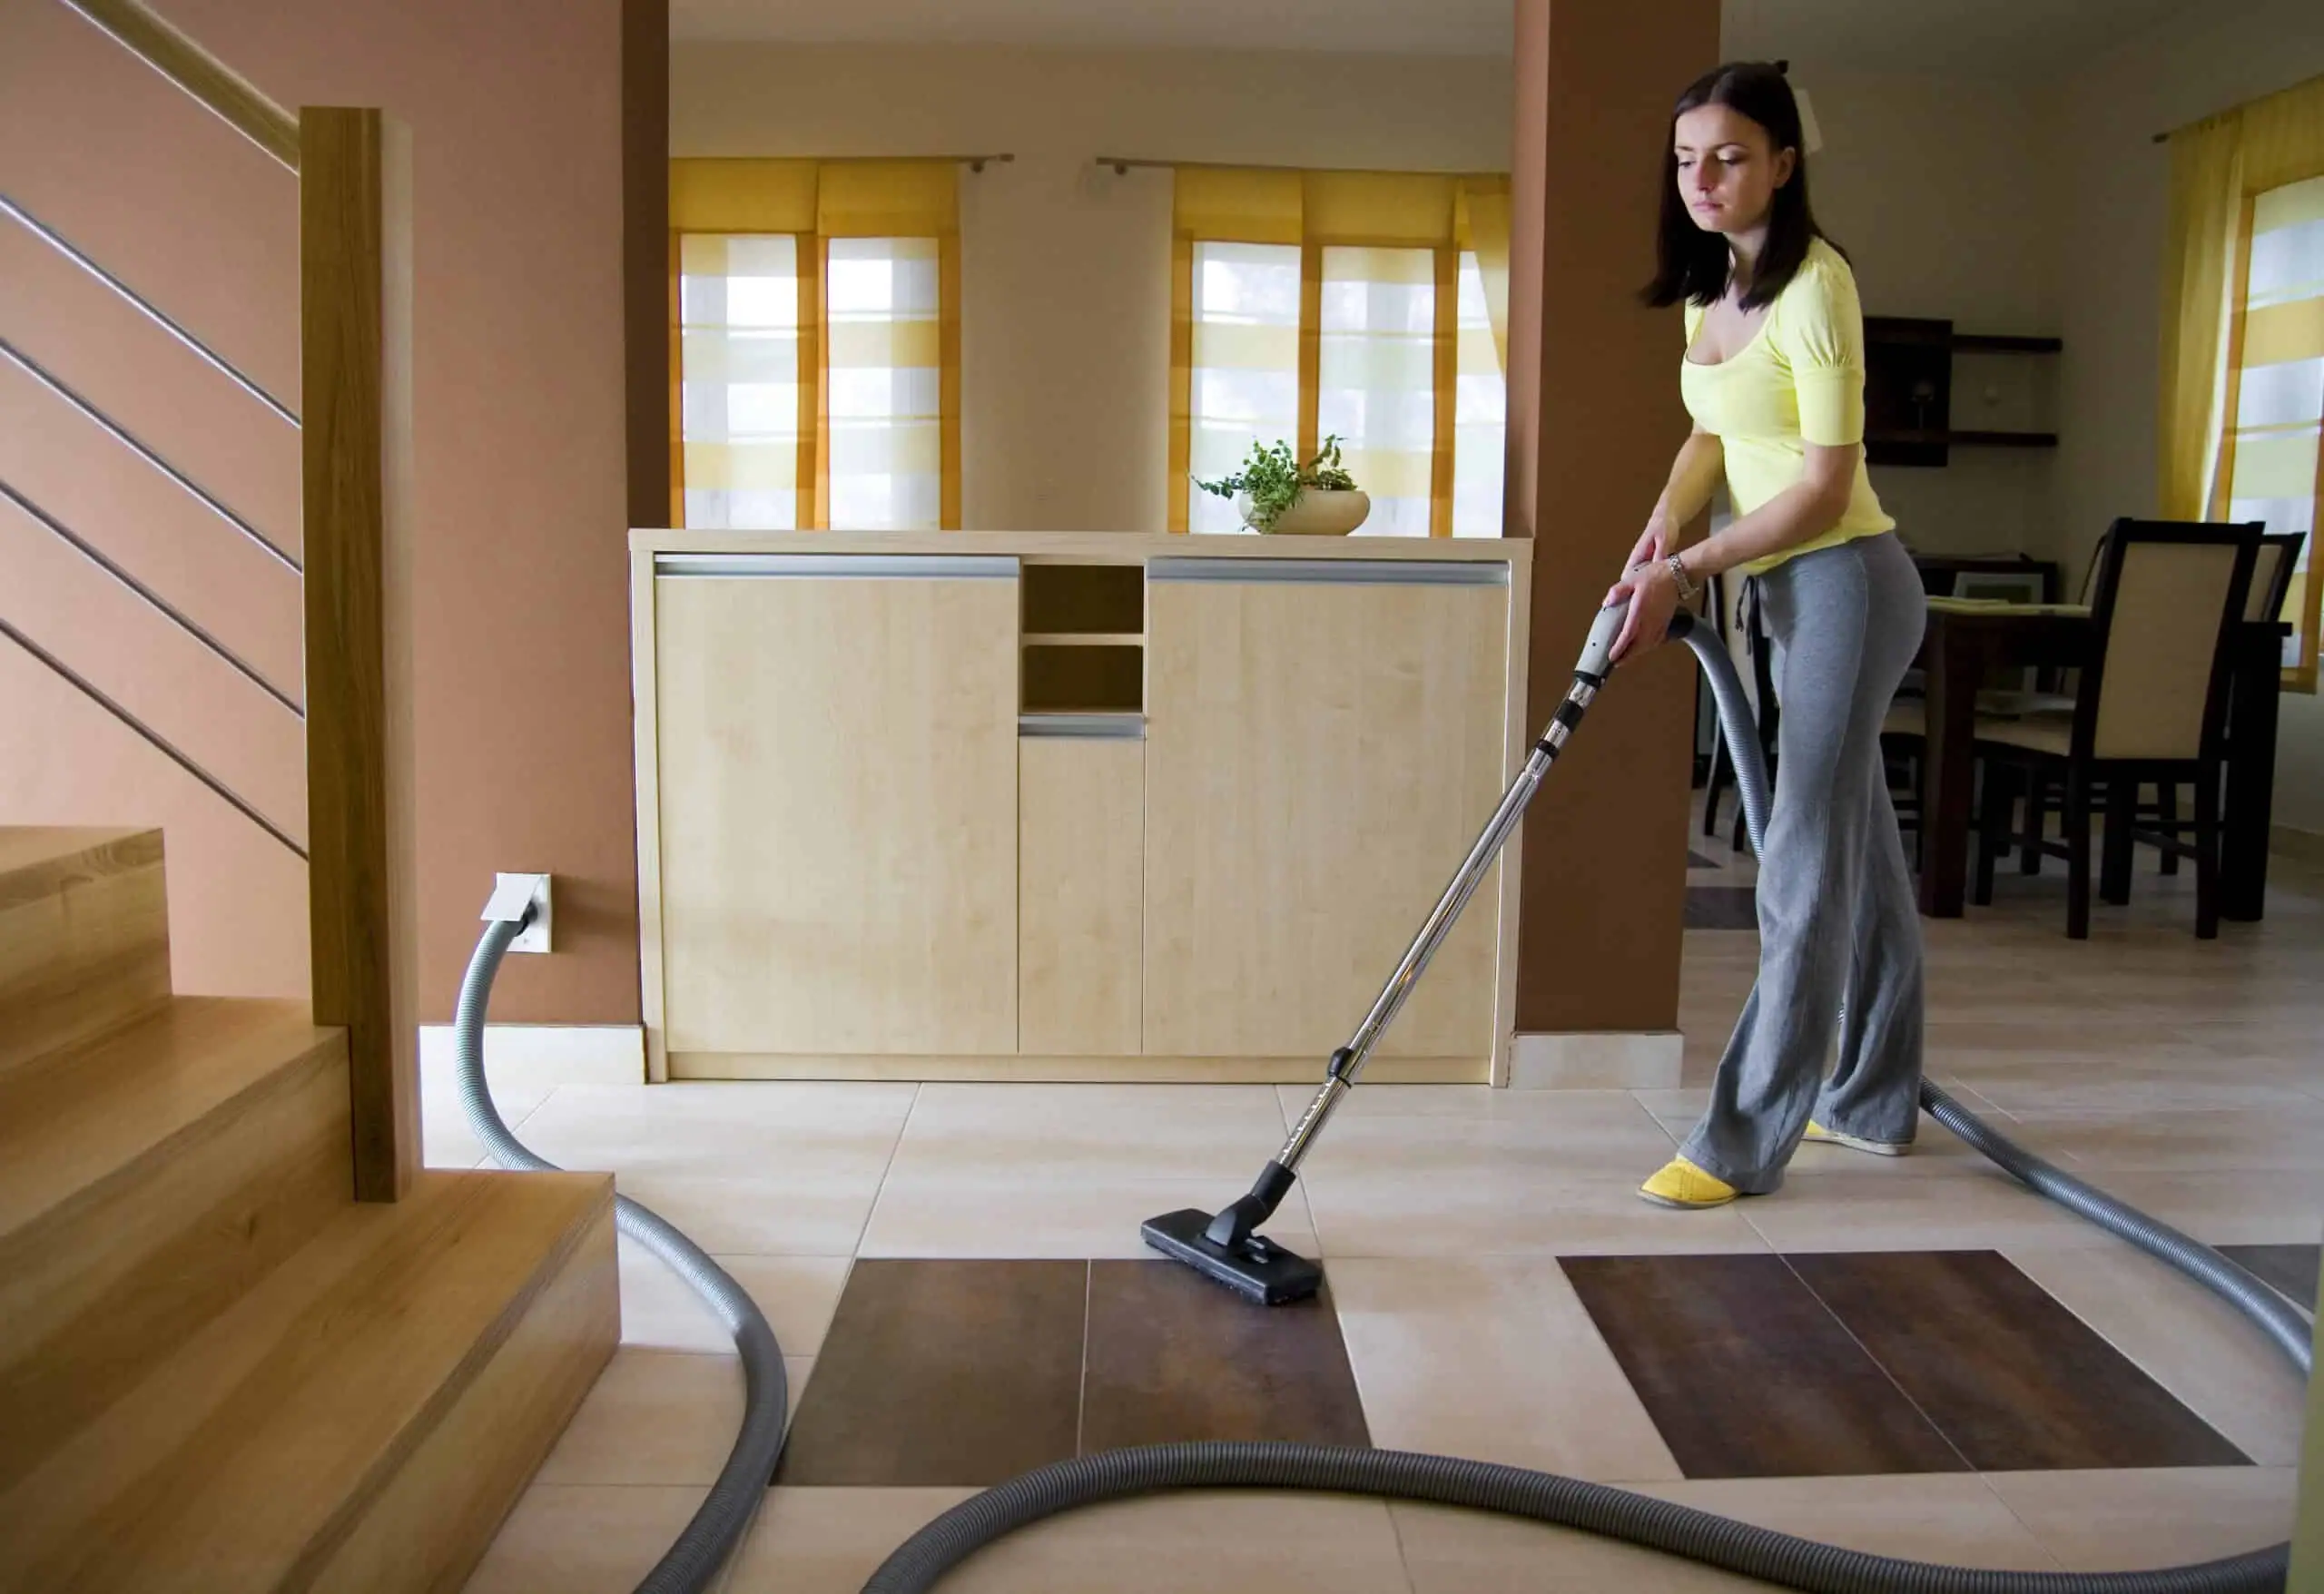
Low-voltage wiring runs alongside the tubing, attached with cable ties every four feet or so. This wiring connects each inlet to the power unit and creates the automatic on/off function that makes whole house central vacuum systems so convenient. When you insert the hose into an inlet valve, it completes a circuit that signals the power unit to start. Pull the hose out, and the unit shuts off automatically—no switches to flip, no walking to the basement to turn anything on or off.
At each inlet location, a backing plate gets mounted to a stud in the wall cavity. The inlet elbow connects to the backing plate, and the vertical drop tube connects to the elbow. After drywall is installed in new construction, or after the wall opening is cut in existing homes, the inlet valve cover plate gets installed, concealing all the tubing and wiring behind a clean finished surface that matches your home’s aesthetic.
The exhaust line is the final major component. This runs from the power unit to the outside of your home, venting the exhaust air away from living spaces where you and your family breathe. The exhaust can go directly through an exterior wall or up through the attic to a roof vent, depending on your home’s layout and where the power unit sits. Proper exhaust routing maximizes the indoor air quality benefits—all the dust, allergens, and debris get expelled outside rather than recirculated into rooms like portable vacuums do.
Throughout installation, we check for potential conflicts with existing systems. Tubing can’t run next to hot water heaters or chimney flues without switching to metal pipe for that section to meet fire codes. Routes need to avoid electrical wiring and plumbing lines. In finished homes, we use stud finders and careful probing to locate safe pathways before cutting any openings.
Should You Hire a Professional or DIY Your Central Vacuum Installation?
Central vacuum installation falls into a category where DIY is technically possible but professional installation offers significant advantages that protect your investment. The process requires drilling, cutting, running PVC pipe, and low-voltage wiring—skills many homeowners possess. A typical DIY installation takes about one weekend if you have remodeling experience and the right tools.
However, professional installation provides benefits that go beyond convenience. The most important is warranty protection. Most quality central vacuum systems come with impressive warranties—lifetime coverage on the power unit canister, 10+ years on motors and electrical components. But here’s the catch: warranty coverage requires professional installation. Manufacturers know that proper installation determines system lifespan. They’ll stand behind their products for decades when professionals install them correctly. They won’t cover systems that fail due to DIY installation errors, even if the failure stems from a manufacturing defect. That warranty distinction matters financially when a replacement motor costs $400-800.
The second advantage is airtight connections that maintain suction. Central vacuum systems operate under constant negative pressure, moving air through sealed pipes at high velocity. Even small air leaks reduce suction performance significantly. We know the exact technique for creating chemically welded PVC connections that won’t leak under constant use. We know how to cut tubing square, remove burrs properly, and apply cement for even distribution. These details seem minor, but they determine whether your system maintains full suction for 20 years or gradually loses performance until you’re frustrated with weak cleaning.
Professional installation also brings experience with routing challenges specific to Nassau County, NY home construction. We’ve seen hundreds of colonials, ranches, and split-levels. We know how to navigate obstacles—existing plumbing, electrical wiring, HVAC ducts, structural elements that can’t be disturbed. We understand which walls work for vertical drops and which don’t. We know building codes and permit requirements. For two-story homes especially, professional installation handles the complexity of routing between floors without creating problems that show up months later.
That said, some homeowners do successfully install systems themselves, particularly in straightforward single-story homes with good attic or basement access. If you’re going the DIY route, work carefully, follow manufacturer instructions precisely, and don’t rush the PVC connections. Consider having a professional at least inspect your work before closing walls, especially if you want warranty protection to remain valid.
For most Nassau County, NY homeowners, professional installation makes sense. The investment protects warranty coverage, ensures proper performance from day one, and typically completes in a single day with minimal disruption. You avoid the learning curve, the tool rental costs, and the risk of mistakes that reduce system efficiency or void your warranty entirely.
Making Your Central Vacuum Installation a Long-Term Success
Central vacuum installation isn’t complicated, but precision matters at every stage. The planning phase determines whether your system provides complete coverage efficiently without wasting money on unnecessary inlets. The installation phase determines whether it maintains full suction for decades or gradually loses performance. The details—airtight connections, proper routing, correct power unit placement—separate systems that perform flawlessly from ones that underdeliver and frustrate.
For Nassau County, NY homes, professional installation typically completes in a single day with minimal disruption to your routine. You get a system designed specifically for your home’s layout, installed to manufacturer specifications, and backed by full warranty protection that lasts 20+ years. The result is 3-5 times more suction power than portable vacuums, dramatically improved indoor air quality that allergy sufferers notice immediately, and a cleaning solution that outlasts multiple generations of portable vacuums you’d otherwise buy and replace.
If you’re ready to move forward with installation in your Long Island home, we bring over 50 years of experience to Nassau County, NY properties. Our VDTA-certified technicians understand local home structures—from Garden City colonials to Massapequa ranches—and install systems that perform exactly as designed, protecting your investment with proper technique and warranty-compliant work that stands behind every connection.