Summary:
You’re planning a central vacuum installation in your Nassau County home. Maybe you’re building new, maybe you’re retrofitting during a renovation. Either way, you need supplies—pipe, fittings, inlet valves, wire. Seems straightforward enough.
Then you start researching and realize there’s a difference between plumbing PVC and vacuum PVC. Between Schedule 20 and Schedule 40. Between fittings that look identical but perform completely differently. Get it wrong and you’re looking at reduced suction, frequent clogs, or a building inspector who fails your installation and orders you to rip it all out.
Here’s what you actually need to know about central vacuum supplies—the components that matter, the specs that affect performance, and the mistakes that cost Long Island homeowners thousands in do-overs.
Central Vac Pipe and Fittings: What Actually Works in Residential Systems
Walk into any Home Depot in Nassau County and you’ll find PVC pipe. Pick up a piece and it looks perfectly fine for a central vacuum installation. Except it’s not.
That’s Schedule 40 plumbing pipe. It’s designed to carry water through your walls, not air and debris. The inside surface is rougher than it needs to be because water pressure pushes through regardless. The elbows are tight 90-degree turns because plumbers need to save space and water doesn’t care about sharp corners.
Your central vacuum system cares very much about sharp corners. Every tight elbow creates friction. Every rough interior surface gives debris a place to catch. String enough of these restrictions together and your system loses 30% of its suction power before you even finish installation.
Central Vacuum System Pipe: Schedule 20 vs Schedule 40
The pipe specification matters more than almost anything else in your system. Schedule 20 thin-wall PVC is what 99% of professional central vacuum installations use. It’s not available at big box stores because it doesn’t meet plumbing code for water lines—which is exactly why it’s perfect for vacuum systems.
Schedule 20 pipe has a 2-inch outer diameter with thinner walls than plumbing pipe. That thin wall isn’t a weakness. It’s engineered specifically so the interior diameter matches perfectly with vacuum fittings, creating smooth transitions without gaps or ledges where debris can catch.
The interior surface is manufactured to be glass-smooth. No rough spots, no manufacturing imperfections, nothing for dust and dirt to grab onto as it travels through your walls at high velocity. Professional installers can cut it cleanly with a specialized tubing cutter, and it bonds to fittings without needing primer—just standard PVC cement.
Here’s what most homeowners don’t realize until they’re already committed: Schedule 40 plumbing pipe contains manufacturing impurities that create tiny pinholes. You won’t see them during installation. But once your system is running, those pinholes leak air. Your vacuum motor works harder trying to maintain suction through a system that’s bleeding pressure at dozens of points you can’t even locate.
Building inspectors in New York know the difference. The ASTM F2158 standard specifically certifies pipe for central vacuum applications. If your pipe doesn’t have the IAPMO UMC Shield Logo printed on it, an inspector can fail your installation and require you to tear it out and start over with certified pipe. That’s not a theoretical risk—it happens to DIY installers who bought the wrong supplies.
The cost difference between Schedule 20 vacuum pipe and Schedule 40 plumbing pipe is minimal. Maybe $50 more for a typical whole house vacuum pipe installation. But the performance difference is massive. You’re building something that’s going into your walls permanently. Use the right pipe.
Sweep Elbows, Wyes, and Fittings That Maintain Airflow
Fittings are where most central vacuum supply purchases go wrong. You need elbows to change direction, wyes to branch off to different rooms, couplings to connect pipe sections. The fittings look similar whether they’re designed for plumbing or vacuums. The performance is completely different.
Plumbing elbows make tight 90-degree turns. That’s fine for water. For air moving at high velocity while carrying dirt, pet hair, and debris, tight turns create turbulence and restriction. Objects get stuck. Suction drops.
Central vacuum fittings use sweep elbows—gradual curves instead of sharp corners. A sweep elbow gives debris a smooth path around the corner. Nothing to catch on, nothing to restrict airflow. Professional installers use 45-degree elbows wherever possible instead of 90s, and when they do need 90-degree turns, they use the widest radius sweep elbows available.
The difference shows up immediately in system performance. A properly fitted system with sweep elbows maintains consistent suction from the furthest inlet back to your power unit. A system cobbled together with plumbing fittings loses power with every sharp turn, and you’ll be clearing clogs constantly.
Wye fittings branch your main trunk line to serve different areas of your home. These need to be specifically designed for vacuum applications—not drainage wyes from the plumbing aisle. Vacuum wyes are oriented so debris flows smoothly from the branch into the main line without creating turbulence or dead spots where material can accumulate.
You’ll also need couplings to connect pipe sections, mounting brackets to secure inlet valves, pipe straps to support runs, and specialized short 90s for wall inlet installations. A complete installation kit for a typical Nassau County home includes everything matched and sized correctly—usually 12 sweep elbows, 3 wyes, 8 45-degree elbows, multiple couplings, mounting hardware, and inlet plates. Trying to piece it together from random plumbing supplies is false economy.
Inlet Valves, Wire, and Accessories for Complete Systems
The pipe and fittings get debris from your rooms to the power unit. But you also need components that make the system actually usable—inlet valves where you plug in your hose, low-voltage wire to activate the system, and accessories that extend functionality.
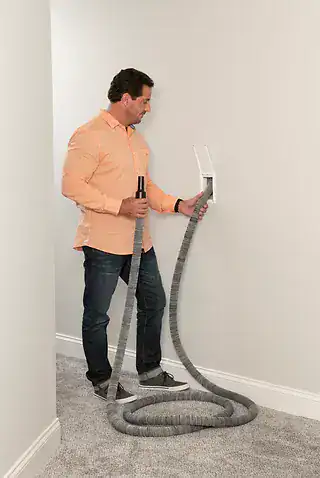
Inlet valves mount in your walls at strategic locations throughout your home. The standard recommendation is one inlet per 600 square feet, positioned so a 30-foot hose can reach every corner of nearby rooms. That typically means 3-4 inlets for a 2,000 square foot home, though the exact number depends on your floor plan.
Standard inlet valves are low-voltage—they use 24V wire running alongside your vacuum pipe to signal the power unit to turn on when you plug in the hose. Some systems use direct-connect inlets with 120V power for electric powerheads. The choice affects your installation complexity and which accessories you can use, so decide early.
Low-Voltage Wire and Electrical Components
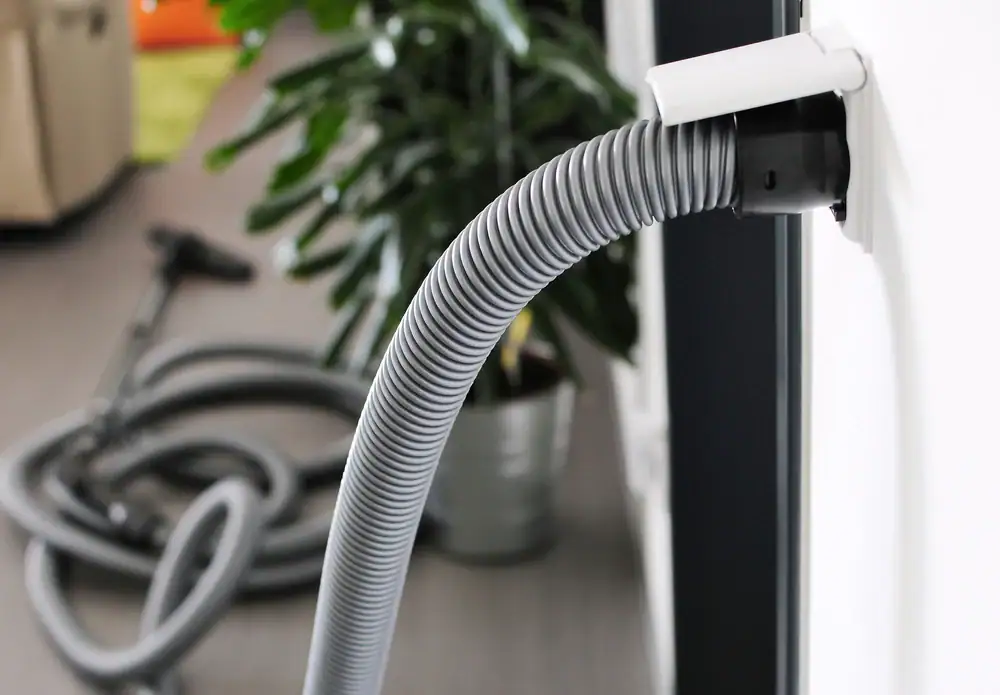
Your central vacuum system needs to know when you want it to run. That’s where low-voltage wiring comes in. A simple two-wire cable runs alongside your vacuum pipe from each inlet back to the power unit. When you plug your hose into an inlet, metal contacts complete the circuit and signal the unit to start.
The wire itself is straightforward—standard 18-gauge or 20-gauge two-conductor cable, the same type used for doorbells. But the installation matters. The wire needs to be secured to the vacuum pipe with cable ties or wire clips every few feet. If it’s loose, it can get damaged during construction or interfere with pipe joints.
Professional installers run the wire in a continuous loop, branching at each inlet just like the pipe branches. This creates redundancy—if one section gets damaged, the rest of the system still works. DIY installations that run separate wire runs to each inlet create more potential failure points.
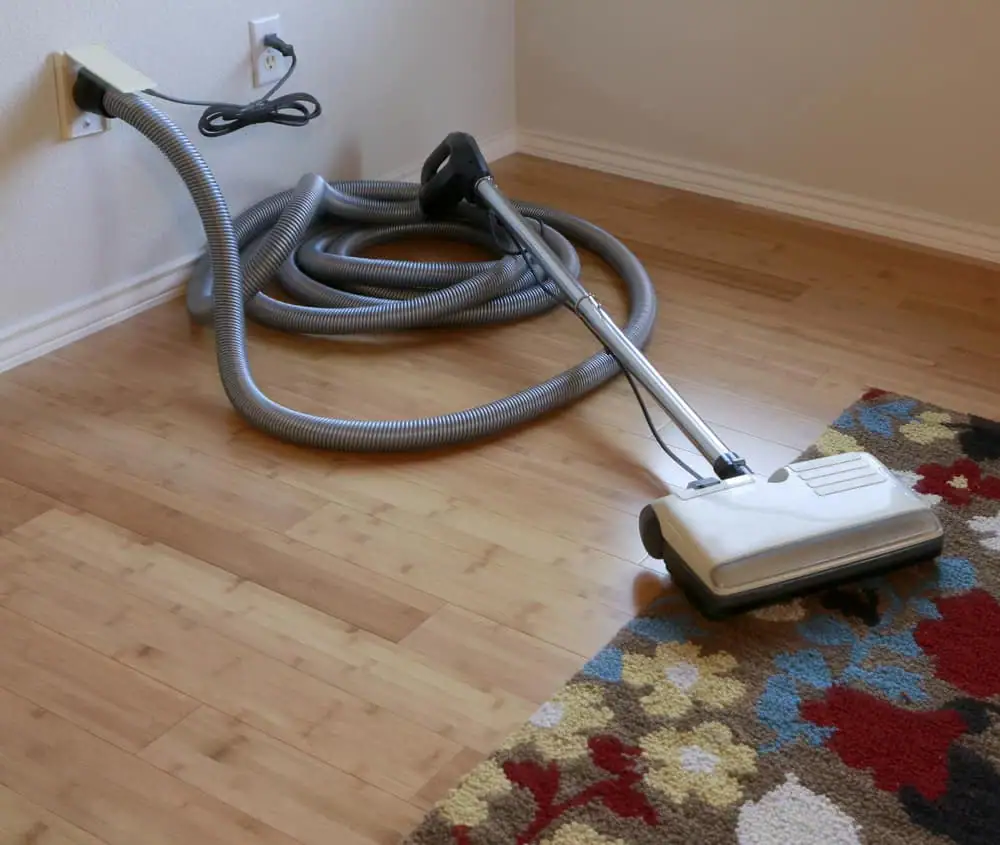
If you’re planning to use electric powerheads for carpet cleaning, your inlets need to be within six feet of a standard electrical outlet. The powerhead plugs into the wall separately from the low-voltage hose connection. Some newer systems integrate 120V power drops directly into the inlet valve, eliminating the need for nearby outlets, but those components cost more and require more complex installation.
The electrical requirements are minimal—your power unit typically runs on a standard 120V/20A circuit. But plan the location so there’s an outlet within three feet of where you’ll mount the unit. And if you’re exhausting outside (which you should be for optimal air quality), you’ll need access to an exterior wall for the exhaust vent.
Wall Inlets, Mounting Hardware, and Installation Accessories
The inlet valve is what you see and interact with daily, so it needs to be installed correctly. Each inlet requires a mounting bracket that secures it to the wall and connects it to your vacuum pipe. The bracket type depends on your wall construction—2×4 studs, 2×3 walls, or retrofit installations in existing finished walls.
Standard mounting brackets work for new construction where you’re installing before drywall goes up. The bracket screws to the stud, the vacuum pipe connects to the back with a short 90-degree elbow, and the inlet valve plate covers everything once walls are finished. For retrofit installations in existing homes, you need specialized brackets and pipe collars that finish cleanly around the hole you cut in the drywall.
Inlet plates come in various styles and colors to match your décor, but they all perform the same function—they provide the socket where you plug in your hose and house the electrical contacts that activate the system. Some plates include built-in dustpans for sweeping debris directly into the system without connecting a hose. These work well in kitchens and high-traffic areas.
Beyond the basics, you’ll need pipe straps to support horizontal runs (every 6 feet minimum), fire-stop collars where pipe penetrates fire-rated walls between floors, exhaust vent caps for outside termination, and PVC cement specifically formulated for the thin-wall pipe. A complete installation kit includes all of these components sized and matched correctly.
The quality of these accessories matters less than getting the pipe and fittings right, but cheap mounting brackets can crack during installation, inferior inlet plates develop air leaks over time, and low-quality pipe straps fail under the weight of long horizontal runs. Stick with components from established central vacuum manufacturers rather than generic hardware store substitutes.
Getting the Right Central Vacuum Supplies for Your Nassau County Installation
Central vacuum systems last 20-plus years when installed with proper supplies. They fail, clog, and lose suction when built with the wrong components—even if those components look identical and cost less.
The pipe specification is non-negotiable. Schedule 20 thin-wall vacuum pipe with ASTM F2158 certification. Not plumbing pipe, not “close enough” alternatives, not whatever’s cheapest at the hardware store. The sweep elbows, wyes, and fittings need to be vacuum-specific, designed for airflow rather than water flow. And the inlet valves, wire, and accessories should come from established manufacturers who understand how these systems actually work in residential installations.
If you’re planning a central vacuum installation in Nassau County or anywhere on Long Island, we’ve supplied and installed these systems for over 50 years at DuraVac. We know which components work in local homes, what building inspectors look for, and how to spec a system that delivers consistent performance for decades.