Summary:
Planning Your Installation: Mapping Out Your Cleaning Route
Before you get started, carefully planning your installation is essential. Consider the layout of your home and the areas you’ll be cleaning most frequently. Think about where you’ll need access to the vacuum hose and how you can minimize hose reach for maximum efficiency. This planning stage is vital for a smooth installation.
Once you have a general idea of where you want the inlets, it’s time to map out the path for the vacuum tubing. This tubing will connect the inlets to the central vacuum unit, which is typically located in a basement, garage, or utility room. When plotting your tubing route, aim for straight lines as much as possible. Bends and turns can create resistance, reducing the system’s suction power.
Gathering Your Supplies
Now that you have a plan, it’s time to gather your supplies. You’ll need the DuraVac central vacuum system kit, which includes the central unit, tubing, inlet valves, and hose. You’ll also need basic tools like a drill, screwdriver, measuring tape, and level. Depending on the specifics of your installation, you might need additional materials like PVC pipe, fittings, and electrical wiring.
It’s always a good idea to double-check the installation manual for a complete list of required tools and materials. This will help you avoid any surprises during the installation process.
Installing the Central Vacuum Unit
To begin your DuraVac central vacuum system installation, gather your supplies. You’ll need the DuraVac kit, which provides the central unit, tubing, inlet valves, and hose. Essential tools include a drill, screwdriver, measuring tape, and level.
It’s always a good idea to double-check the installation manual for a complete list of required tools and materials. This will help you avoid any surprises during the installation process.
Installing the Inlet Valves
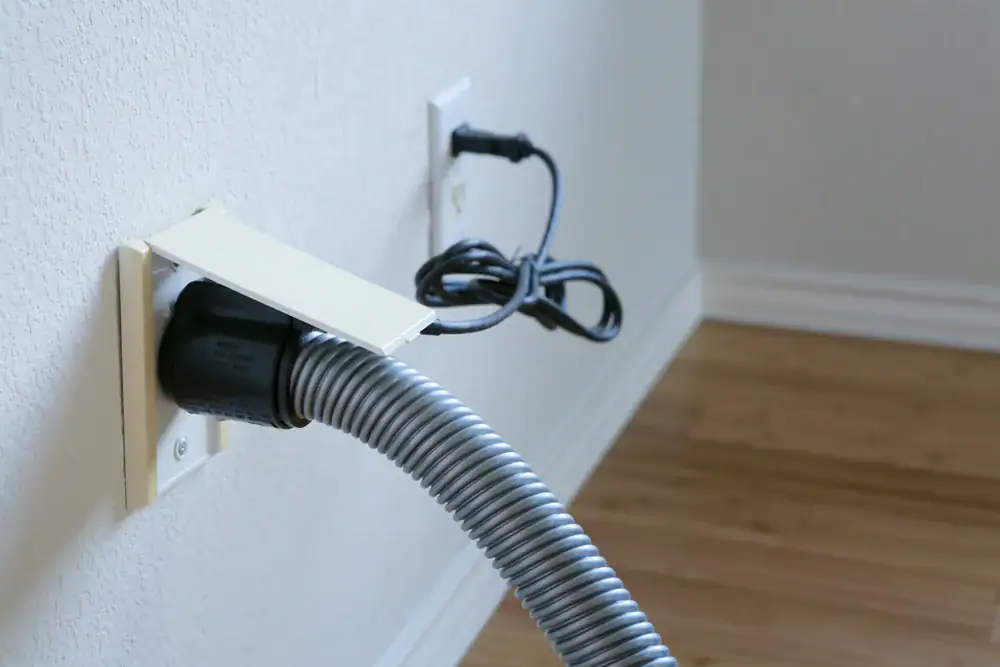
The inlet valves are the access points for your central vacuum hose. They should be installed in convenient locations throughout your home, typically in walls. Use a stud finder to locate wall studs and mark the desired locations for the inlets. Cut the holes for the inlets using a drywall saw or a utility knife.
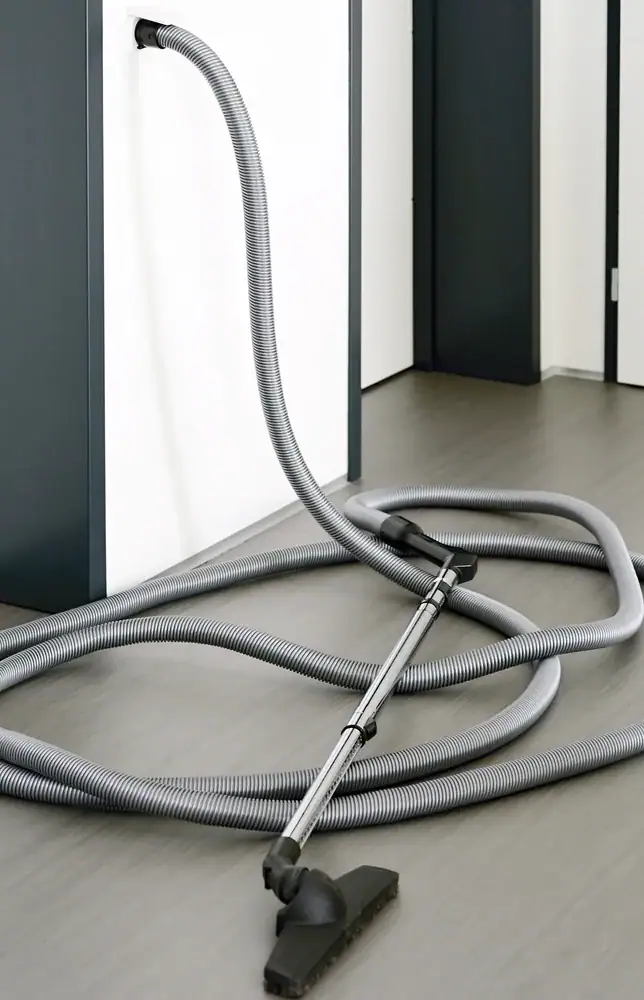
Insert the inlet valves into the holes and secure them with screws. Connect the vacuum tubing to the inlets, making sure there’s a tight fit to prevent air leaks. Test the inlets by inserting the hose to make sure it retracts smoothly.
Connecting the Tubing
The vacuum tubing connects the inlet valves to the central unit. Run the tubing through the walls, ceilings, or floors, following the route you planned earlier. Use PVC pipe and fittings to create bends and turns in the tubing, making sure there’s a smooth flow of air. Connect the tubing to the central unit and the inlet valves, securing the connections with clamps or tape.
It’s important to avoid kinking or crushing the tubing, as this can restrict airflow and reduce suction. Take your time and work carefully to get it right.
Testing and Troubleshooting
Once the installation is complete, it’s time to test your system. Plug in the central unit and turn it on. Insert the hose into each inlet valve and test the suction. If everything is working correctly, the hose should retract smoothly and the system should provide strong suction.
If you encounter any problems, refer to the troubleshooting section of the installation manual. You can also contact DuraVac for assistance. We’re here to help you get your system up and running.
Enjoy Your New Cleaning Companion
Congratulations on installing your DuraVac central vacuum system! You’ve taken a big step towards a cleaner, healthier, and more convenient home. Enjoy the benefits of a truly powerful and efficient cleaning experience. If you have any questions or concerns – or if you’d prefer to skip the DIY approach and opt for professional central vacuum installation instead – don’t hesitate to contact DuraVac. Our knowledgeable and friendly associates are always here to help.