Summary:
Power Unit Placement Affects Everything
Where you put the power unit isn’t just about finding available space. This decision impacts noise levels, accessibility for maintenance, and how efficiently your entire system operates. Think of it as the heart of your whole house vacuum—everything else connects back to this central point.
The power unit needs to go somewhere away from your living areas—garage, basement, or utility room. You want it remote enough that you won’t hear the motor running, but accessible enough that emptying the collection canister every few months doesn’t become a hassle. Most Suffolk County homes have basements or garages that work perfectly for this.
Here’s what most Long Island homeowners don’t realize until installation day: the unit must sit within three feet of an electrical outlet and needs at least eight inches of clearance from the ceiling for proper ventilation. Mount it too high and you can’t easily remove the dirt canister. Too low and you’re bending over every time you need to empty it. The sweet spot is mounting the bracket about 48 inches from the floor.

Why Location Matters for Long Island Homes
Long Island’s coastal environment creates specific challenges that affect where you should place your power unit. Beach communities from the Hamptons to Babylon deal with sand infiltration that can damage motors if the unit isn’t properly positioned. Homes near the water face humidity and salt air that accelerate corrosion.
Your power unit works best in a well-ventilated area that doesn’t reach high temperatures. That means avoiding furnace rooms, small closets, or attics where summer heat builds up. Garages work well for most Long Island homes because they offer easy access, stay relatively cool, and keep motor noise completely out of your living spaces.
The exhaust line matters too. You want the power unit positioned on or near an exterior wall so the exhaust can be easily routed outdoors. Some systems don’t require outside venting, but exhausting outside minimizes any dust generated by the unit and improves overall air quality—especially important if anyone in your household deals with allergies or asthma triggered by Long Island’s ragweed season.
Think about your home’s layout before installation day. If you have a two-story colonial typical of many Long Island neighborhoods, mounting the power unit in the basement typically makes the most sense. One trunk line runs horizontally through the basement, another through the attic, with branch lines connecting to inlet valves on each floor. For ranch-style homes common throughout Nassau County, the garage often provides the best location, with the trunk line running through the attic to reach inlet locations throughout the house.
The goal is creating the shortest possible pipe runs from your inlet valves back to the power unit. Shorter runs mean better suction performance and fewer potential points for clogs or leaks. Every extra elbow, every additional length of pipe, creates friction that slightly reduces the system’s overall power.
For split-level homes you’ll find throughout Suffolk County, you might need two trunk lines with the power unit in the garage. The intake tubing runs up the garage wall into the attic of the ground level section, then branches to serve both levels efficiently. This setup maintains strong suction throughout the entire system while keeping the power unit accessible for maintenance.
What Happens During Power Unit Installation
Long Island’s coastal environment creates specific challenges that affect where you should place your power unit. Beach communities from the Hamptons to Babylon deal with sand infiltration that can damage motors if the unit isn’t properly positioned. Homes near the water face humidity and salt air that accelerate corrosion.
Your power unit works best in a well-ventilated area that doesn’t reach high temperatures. That means avoiding furnace rooms, small closets, or attics where summer heat builds up. Garages work well for most Long Island homes because they offer easy access, stay relatively cool, and keep motor noise completely out of your living spaces.
The exhaust line matters too. You want the power unit positioned on or near an exterior wall so the exhaust can be easily routed outdoors. Some systems don’t require outside venting, but exhausting outside minimizes any dust generated by the unit and improves overall air quality—especially important if anyone in your household deals with allergies or asthma triggered by Long Island’s ragweed season.
Think about your home’s layout before installation day. If you have a two-story colonial typical of many Long Island neighborhoods, mounting the power unit in the basement typically makes the most sense. One trunk line runs horizontally through the basement, another through the attic, with branch lines connecting to inlet valves on each floor. For ranch-style homes common throughout Nassau County, the garage often provides the best location, with the trunk line running through the attic to reach inlet locations throughout the house.
The goal is creating the shortest possible pipe runs from your inlet valves back to the power unit. Shorter runs mean better suction performance and fewer potential points for clogs or leaks. Every extra elbow, every additional length of pipe, creates friction that slightly reduces the system’s overall power.
For split-level homes you’ll find throughout Suffolk County, you might need two trunk lines with the power unit in the garage. The intake tubing runs up the garage wall into the attic of the ground level section, then branches to serve both levels efficiently. This setup maintains strong suction throughout the entire system while keeping the power unit accessible for maintenance.
Inlet Valve Locations Determine Daily Convenience
Inlet valve placement is where theory meets reality. You can have the most powerful built-in vacuum system available, but if your inlets aren’t positioned where you actually need them, you’ll find yourself frustrated every time you clean.
The standard rule is one inlet for every 700 to 1,000 square feet, assuming you’re using a 30-foot hose. But that’s just a starting point. What really matters is whether you can reach every corner of every room, around furniture, into closets, and up to ceiling fans from each inlet location.
Here’s a simple test before installation: cut a 30-foot piece of string and tie one end to something heavy. Place it where you’re considering an inlet valve, then walk through the rooms that inlet would serve while holding the other end of the string. If you can’t comfortably reach every area you need to clean—including behind furniture and up to the ceiling—you need to rethink that location.
Strategic Placement for Long Island Homes
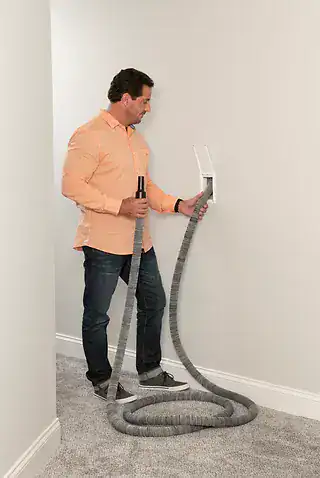
Central locations work best for inlet valves—hallways, near doorways, at the bottom of staircases. These spots let you clean multiple rooms from a single inlet without constantly unplugging and moving to another location. This is especially important in larger Long Island homes where room-to-room coverage matters.
Avoid placing inlets behind doors, behind furniture, or in corners where you’ll struggle to access them. Also skip locations with pocket doors in the wall or areas where you plan to hang large furniture pieces. The inlet needs to be accessible and convenient, or you simply won’t use the system as much as you should.
For two-story homes, you definitely want at least one inlet on each floor. Many Long Island homeowners find that two inlets per floor works best—one serving the bedrooms and bathrooms, another handling the main living areas. This setup means you rarely need to drag the hose more than a few rooms away from the inlet you’re using.
Consider your actual cleaning patterns when planning inlet locations. If you have pets that shed, you might want an inlet near the main entry where you can quickly clean up tracked-in dirt and fur—especially useful after trips to the beach. Families with young children often benefit from an inlet near the kitchen or dining area where spills happen frequently. Think about the areas you clean most often and make sure those spots have convenient inlet access.
Inlet valves should be mounted on interior walls, not exterior walls. Interior walls provide easier access for running the piping and avoid the insulation and structural complications that come with exterior wall installation. The standard height is about 12 to 18 inches above the floor—low enough to be convenient but high enough to avoid furniture blocking access.
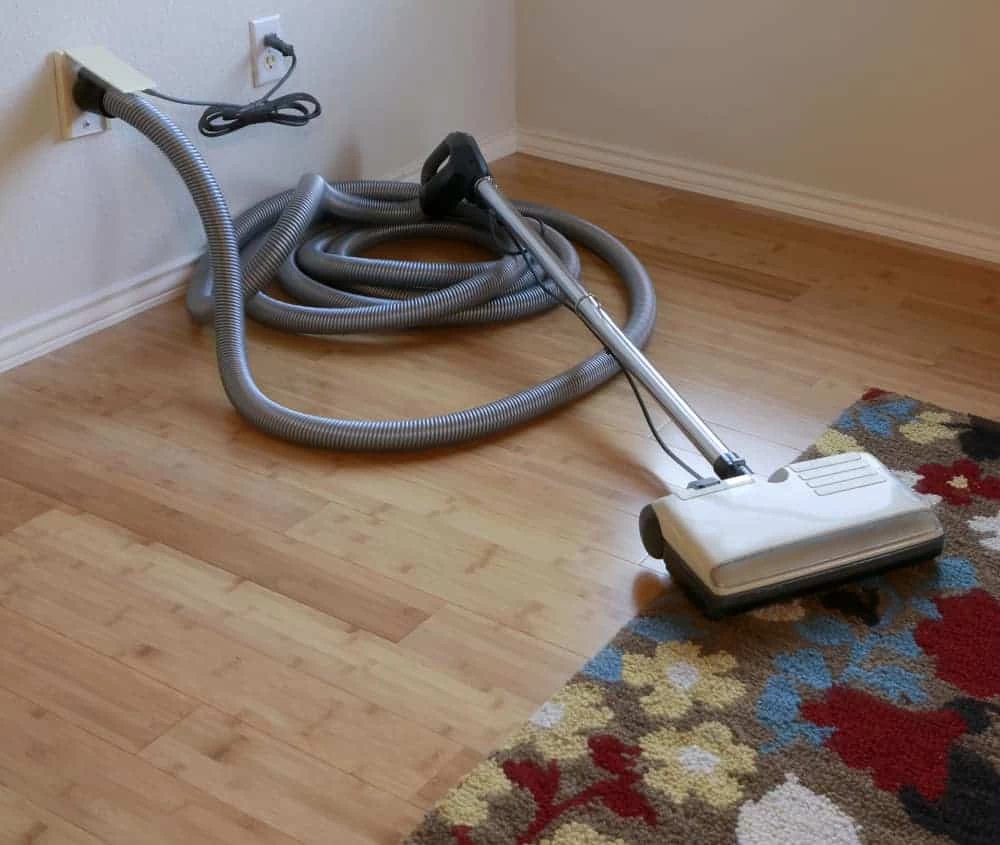
If you’re using electric power brushes for carpet cleaning, inlet valves need to be within five feet of a standard electrical outlet. Some systems use advanced inlet valves with integrated 120V power drops, but most rely on a separate power cord that plugs into the wall. Air-turbine driven brush heads don’t require electricity, giving you more flexibility with inlet placement.
For Long Island homes with finished basements, don’t forget to include an inlet that serves that space. Basements often get overlooked during initial planning, then homeowners realize they have no convenient way to vacuum that entire level. Similarly, if you have a garage where you park cars or work on projects, a utility inlet valve in the garage provides convenient access for cleaning vehicles and workshop messes.
Piping Layout Connects Everything Together
The piping layout determines how well your central vacuum system performs and how much the installation costs. The goal is keeping pipe runs as short as possible while still reaching all your inlet locations—shorter runs mean better suction and fewer potential problems.
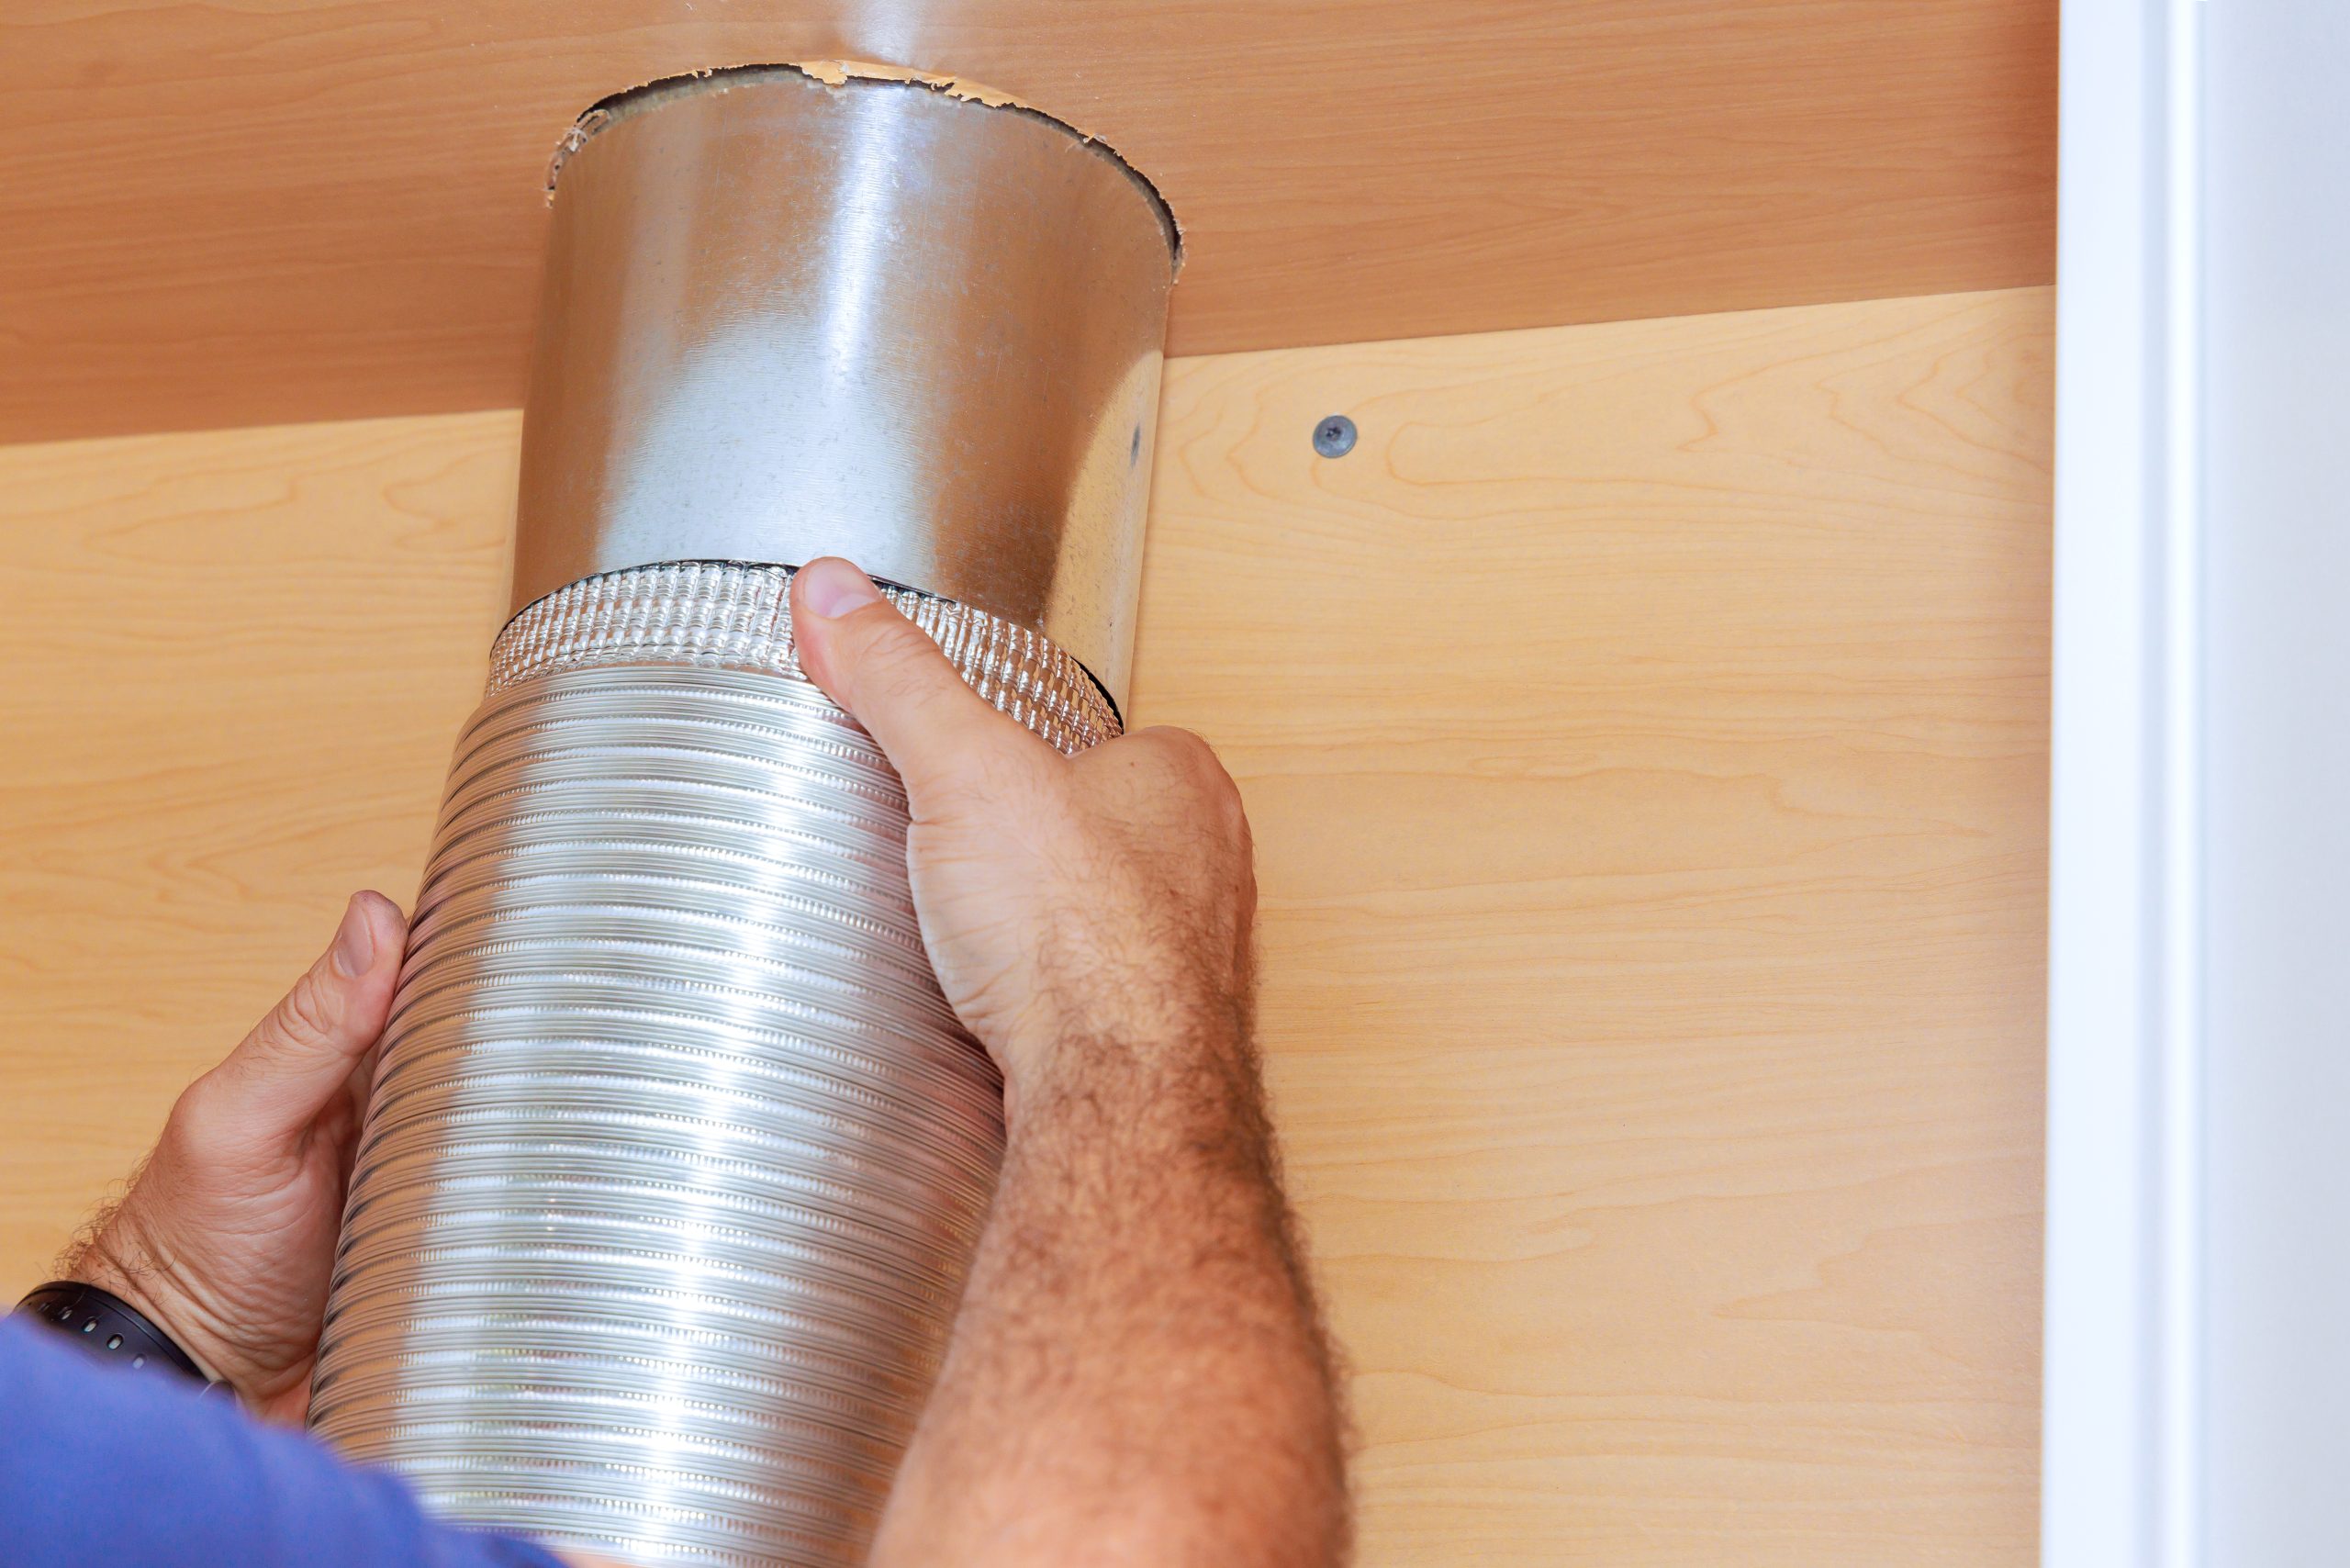
Your central vacuum system uses 2-inch PVC piping designed specifically for vacuum systems. This isn’t the same as plumbing PVC—central vacuum pipe has thinner walls, smoother interiors, and fittings designed for maximum airflow. Using the wrong type of pipe creates unnecessary friction and reduces suction power throughout your system. We know this from decades of experience, which is why professional installation delivers better results than DIY attempts.
The main trunk line runs from the power unit to the furthest inlet valve in your home. Branch lines connect from this trunk line to serve other inlet locations. In a basement installation, the trunk line typically runs horizontally through the basement ceiling, with branch lines rising through interior walls to reach inlet valves on upper floors.
For homes without basement access—common in some Long Island neighborhoods built on slabs—the trunk line often runs through the attic. Branch lines then drop down through interior walls, closets, or utility chases to reach inlet valves throughout the house. This approach works well for ranch-style homes and keeps all the piping hidden from view.
The type of elbows used in your piping layout affects system performance more than most homeowners realize. Sweeping 45-degree elbows create less friction than tight 90-degree turns. Where 90-degree turns are necessary, long-radius elbows work better than short-radius versions because they allow smoother airflow and reduce the chance of clogs forming.
We plan the layout to minimize the total number of fittings and elbows. Every connection point represents a potential leak if not properly sealed, and every turn in the piping reduces airflow slightly. A well-designed layout balances the need for complete coverage with the goal of maintaining maximum system performance.
Piping should always run straight and level in both horizontal and vertical directions. Avoid bowing, bending, or curving the tubing during installation—these create weak points where clogs can form and reduce the system’s overall efficiency. If the piping must run near heat sources like chimneys or water heaters, metal piping should be used for that section to comply with building codes and prevent fire hazards.
For homes in colder areas or where piping runs through unheated spaces, insulation around the pipes prevents condensation that could lead to clogs or moisture damage. Long Island’s climate means this is particularly important for any piping running through unheated attics or crawl spaces during winter months.
Low-voltage wiring runs alongside the PVC piping throughout your system. This wiring connects each inlet valve back to the power unit, creating the circuit that turns the vacuum on when you plug in your hose or press the switch on your hose handle. The wiring installation happens simultaneously with the piping, keeping everything organized and properly routed.
Understanding piping layout helps you see why professional installation makes sense for most homeowners. The planning required to create an efficient system—one that provides strong suction at every inlet while minimizing installation costs—takes experience and expertise. A well-designed piping layout delivers better performance and fewer problems for the entire life of your system.
Making Your Central Vacuum Installation Decision
Your first central vacuum installation comes down to understanding these five key factors: power unit placement that provides accessibility and proper ventilation, inlet valve locations that match how you actually use your space, piping layout that maximizes performance while minimizing costs, realistic expectations about installation in existing homes, and clear knowledge of what the investment involves.
Long Island homeowners who take time to understand these factors before installation day end up with whole house vacuum systems they use regularly and appreciate for decades. The alternative—rushing into installation without considering these details—leads to inconvenient inlet locations, accessibility problems, or performance issues that could have been avoided with better planning.
When you’re ready to move forward with your built-in vacuum system installation, working with experienced professionals who understand Long Island homes makes all the difference. We bring over two decades of specialized experience to every installation, creating custom systems that work with your home’s unique layout and your family’s specific needs.